Prerequisites
- Basic knowledge of JavaScript, React and npm.
- Helpful: Basic knowledge of React Map GL and MapLibre GL JS.
Getting started
- Read up on the PTV Developer API Documentation. Pages useful for this tutorial:
- Request an API key:
- Register and login at myptv.com
- Activate PTV Developer
- Create your API key
- Install Node.js and npm
Showing a vector map with overlays
We will reuse the Vector Map React App tutorial.
//VectorMap.js
import { useCallback } from "react";
import { Map, NavigationControl } from "react-map-gl/maplibre";

// Use the standard map style with overlays set to invisible.
// Change to standard-all.json to show all overlays by default.
const MAP_STYLE_URL = "https://vectormaps-resources.myptv.com/styles/latest/standard.json";

...

export const VectorMap = (props) => {

...

return (
  <Map

	...

	mapStyle={MAP_STYLE_URL}
  />
  );
};
and just add some code to switch overlays on or off. Each layer that belongs to an overlay, the layer has a ptv:layer-group tag in the meta data.
const updateOverlays = (overlays) => {
const map = mapRef.current?.getMap();
const style = map?.getStyle();
style?.layers.forEach( (layer) => {
if (layer.metadata) {
map.setLayoutProperty(layer.id,
'visibility',
overlays.includes(layer.metadata["ptv:layer-group"]) ? "visible" : "none");
}
});
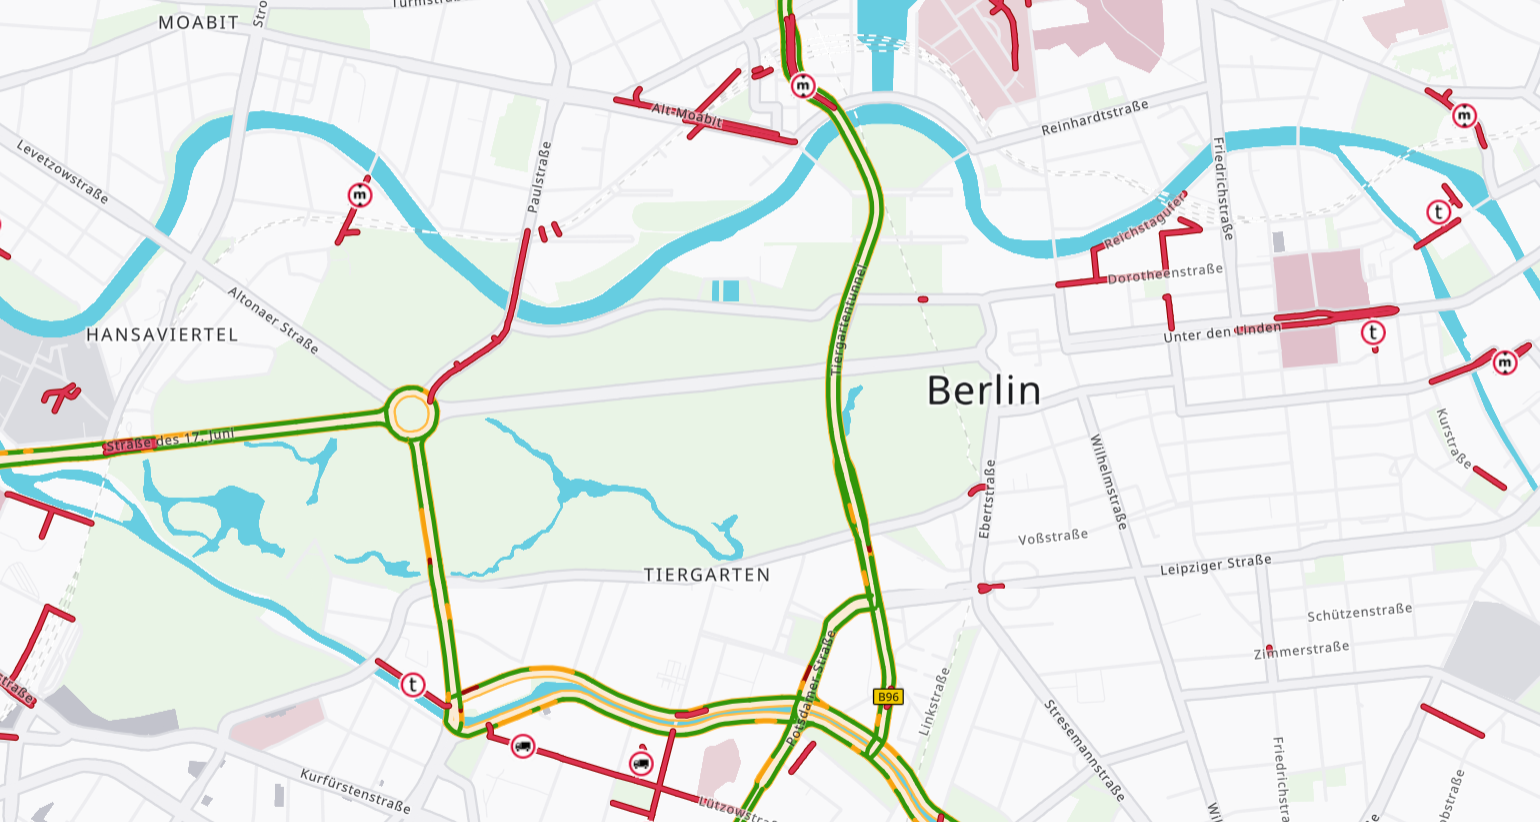
}Currently available overlays are truck-restrictions,traffic-patterns,low-emission-zones and toll.
Time Dependency
For time dependent overlays like the traffic patterns, you might want to set a specific time. The easiest way is to use the transform request callback of the map object.
const getTransformRequest = useCallback(
    (url, resourceType) => {
      let requiredUrl = url || "";
      if (resourceType && resourceType === "Tile") {
        //Add current time as reference time
        if (url?.includes("trafficPatterns")) {
          requiredUrl += "&referenceTime=" + new Date().toISOString();
        }
        return {
          url: requiredUrl,
          headers: { ApiKey: " " + props.apiKey },
        };
      }
      return { url: requiredUrl, headers: {} };
    }, []
  );
Adding interactivity
Now we can go and add interactive popups to our map and the truck-restriction overlay. We use a react state to handle the state of the popup.
//VectorMap.js
import { Map, Popup } from "react-map-gl/maplibre";
...
export const VectorMap = (props) => {
  const [popupInfo, setPopupInfo] = useState(null);

  ...

  return (
    <Map
     ...
    >
      {!!popupInfo && (
        <Popup
          anchor="top"
          longitude={Number(popupInfo.lnglat.lng)}
          latitude={Number(popupInfo.lnglat.lat)}
          onClose={() => setPopupInfo(null)}
        >
          {popupInfo.description.map(
            (entry) => (
            	<p>
                // Each structured description of a truck restrion is a JSON object
                // with a description and an optional array of time-domain descriptions
                <b>{entry.description}</b>
                {entry.time_domain_descriptions?.map(
                  (time_domain) => (
                    <i>{time_domain}</i>
                  ),
                )}
            	</p>
            ),
          )}
        </Popup>
      )}
    </Map>
  );
}
Then we have to initialize the event handling for the map. Therefore we need a reference to the native map object. So we have to iterate through the array of layers and add event handling for mouseenter, mouseleave and click for all layers of the truck-restrictions layer-group.
//VectorMap.js
        import { useRef, useState } from "react";
        ...


        export const VectorMap = (props) => {
          const mapRef = useRef(null);
          const [popupInfo, setPopupInfo] = useState(null);
          ...

           const initializeEvents = () => {
    			const map = mapRef.current?.getMap();
			    map?.getStyle().layers.forEach((layer) => {
      			if (layer.metadata && layer.metadata["ptv:layer-group"] == "truck-restrictions") {
        			map?.on("mouseenter", layer.id, () => {
	          			map.getCanvas().style.cursor = "pointer";
	        		});
	        		map?.on("mouseleave", layer.id, () => {
		          		map.getCanvas().style.cursor = "";
       	 		});
        			map?.on("click", layer.id, (event) => {
          				if (event?.features) {
		            		const structuredDescriptions =
       	    		   		event?.features[0].properties.structured_descriptions;
           	 			const descriptions = JSON.parse(structuredDescriptions);
		            		setPopupInfo({
			              		lnglat: event.lngLat,
			              		description: descriptions,
           		 		});
		          		}
        			});
		      	}
		    });
		  };

          return (
            <Map
              ...

              ref={mapRef}
              onLoad={() => initializeEvents()}
            >

            ...

            </Map>
          );
        }
Handling popups for other overlays like traffic-patterns works similar.
Detailed information about how to work with the map and popup objects can be in the MapLibre GL JS API Documentation.